Introduction
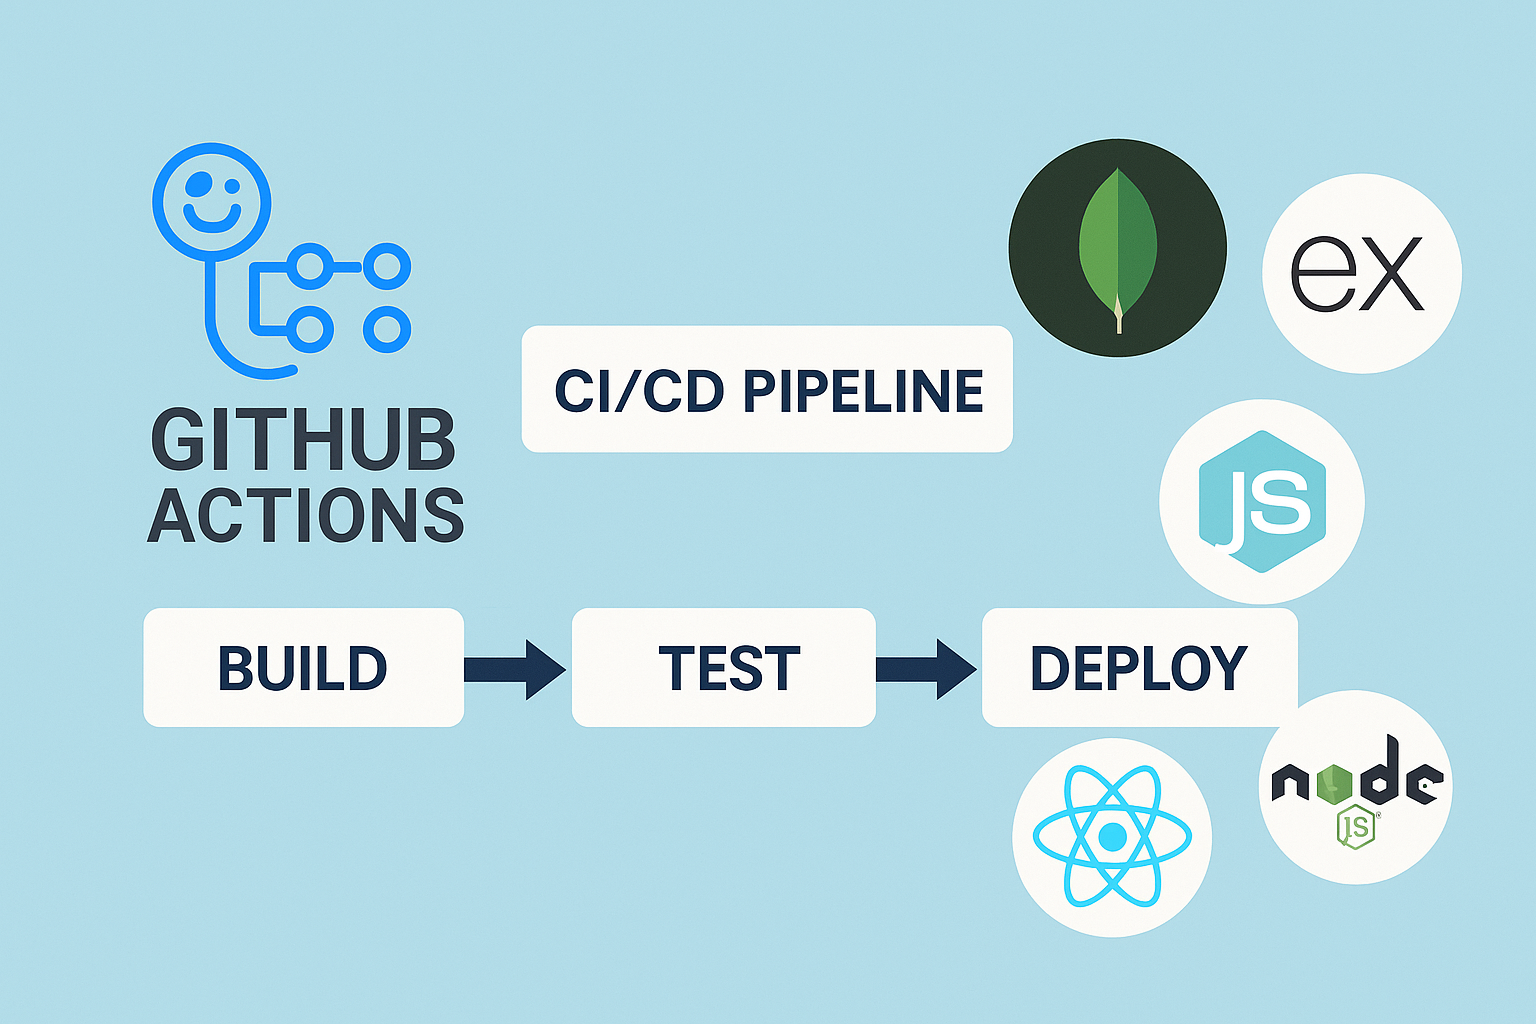
In modern software development, Continuous Integration (CI) and Continuous Deployment (CD) are essential practices for faster and more reliable delivery. For developers working with the MERN stack (MongoDB, Express, React, Node.js), implementing a CI/CD pipeline ensures that every code change is automatically tested, built, and deployed.
GitHub Actions provides a powerful way to set up CI/CD pipelines directly in your GitHub repository. It integrates with cloud platforms like AWS, Heroku, and DigitalOcean, making deployments seamless.
In this blog, we’ll walk through how to set up CI/CD for a MERN app using GitHub Actions.
Why CI/CD for a MERN App?
- Faster Delivery – Automates builds and deployments.
- Consistency – Ensures the same steps are followed across environments.
- Quality Assurance – Runs tests on every pull request or push.
- Scalability – Easy to extend workflows as the app grows.
- Integration – Works well with Docker, cloud platforms, and secrets management.
Step 1: Prepare Your MERN App
Make sure your project structure is organized:
/mern-app
  /client      → React frontend
  /server      → Node.js + Express backend
  package.json → Dependencies and scripts
Add scripts in package.json:
"scripts": {
  "start": "node server/index.js",
  "server": "nodemon server/index.js",
  "client": "npm start --prefix client",
  "build": "npm run build --prefix client",
  "test": "jest"
}
Step 2: Create a GitHub Actions Workflow
Inside your project:
- Create a
.github/workflows/ci-cd.ymlfile. - Add the following configuration:
name: MERN CI/CD Pipeline

on:
  push:
    branches: [ "main" ]
  pull_request:
    branches: [ "main" ]

jobs:
  build:
    runs-on: ubuntu-latest

    steps:
    - name: Checkout code
      uses: actions/checkout@v3

    - name: Setup Node.js
      uses: actions/setup-node@v3
      with:
        node-version: '18'

    - name: Install dependencies (Server)
      run: npm install

    - name: Install dependencies (Client)
      run: npm install --prefix client

    - name: Run tests
      run: npm test

    - name: Build React client
      run: npm run build --prefix client

    - name: Archive production build
      uses: actions/upload-artifact@v3
      with:
        name: production-files
        path: client/build
This workflow:
- Installs dependencies for both server and client.
- Runs tests.
- Builds the React frontend.
- Saves the build files as artifacts.
Step 3: Add Deployment (Optional)
You can extend the workflow to deploy to Heroku, AWS, or DigitalOcean.
Example: Deploy to Heroku
  deploy:
    runs-on: ubuntu-latest
    needs: build

    steps:
    - name: Checkout code
      uses: actions/checkout@v3

    - name: Deploy to Heroku
      uses: akhileshns/heroku-deploy@v3.12.12
      with:
        heroku_api_key: ${{secrets.HEROKU_API_KEY}}
        heroku_app_name: "mern-ci-cd-app"
        heroku_email: "your-email@example.com"
- Store your Heroku API key in GitHub Secrets.
- Pushes will automatically trigger deployment.
Step 4: Managing Secrets
Never hardcode sensitive credentials. Instead:
- Go to GitHub Repo → Settings → Secrets and Variables → Actions.
- Add environment variables such as:
MONGO_URIJWT_SECRETHEROKU_API_KEYAWS_ACCESS_KEY_ID/AWS_SECRET_ACCESS_KEY
Use them in workflows like:
env:
  MONGO_URI: ${{secrets.MONGO_URI}}
  JWT_SECRET: ${{secrets.JWT_SECRET}}
Step 5: Verify and Monitor
- Every commit or pull request triggers the workflow.
- Monitor the pipeline in GitHub Actions tab.
- Fix failed jobs before merging code into
main.
Best Practices
- Run Tests Early – Catch bugs before deployment.
- Use Branch Protection Rules – Prevent merging code without passing tests.
- Deploy Only on Main Branch – Avoid unnecessary deployments.
- Use Caching – Speed up builds with
actions/cache. - Add Notifications – Integrate Slack/Email alerts for failed pipelines.
Conclusion
Setting up CI/CD for a MERN stack app with GitHub Actions helps automate the development workflow, reduces human error, and ensures reliable deployments. By combining automated builds, testing, and deployment, you can focus more on building features while GitHub Actions handles the delivery pipeline.
With just a few configuration steps, your MERN application can achieve enterprise-grade automation and scalability.


