Introduction
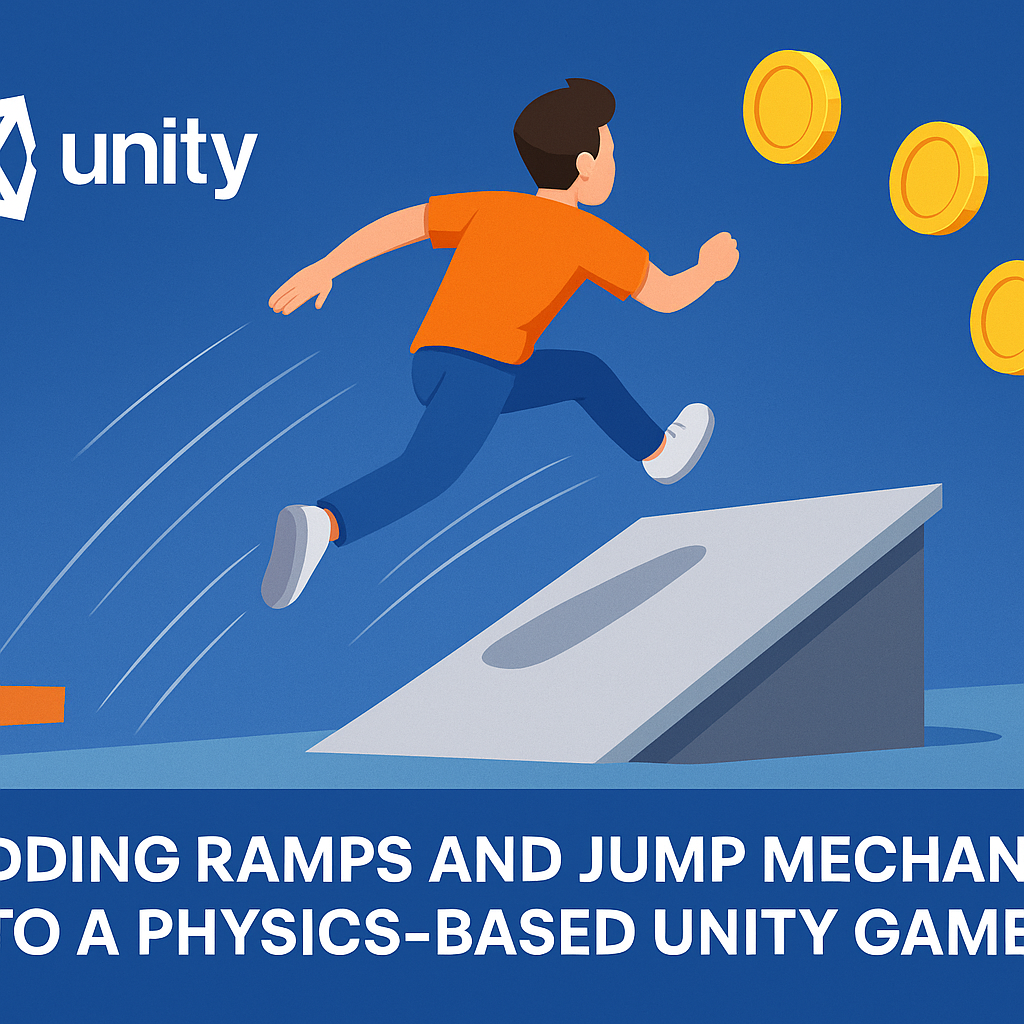
In physics-based games, ramps and jump mechanics bring an extra layer of excitement and challenge. Whether it’s a racing game with stunt ramps, a platformer with dynamic jumps, or an endless runner where players leap over obstacles, ramps and jumping systems enhance immersion and gameplay variety.
Unity’s built-in Rigidbody and Collider system makes it easier to design ramps and realistic jumps. However, achieving smooth performance requires careful balancing of physics forces, player control, and level design.
In this blog, we’ll explore how to implement ramps and jump mechanics in Unity while ensuring realistic physics and optimized performance.
Designing Ramps in Unity
1. Creating Ramps
- Use 3D Models (Plane/Mesh) or ProBuilder to create ramps.
- Apply appropriate colliders (MeshCollider or BoxCollider) to ensure accurate collisions.
- Adjust ramp angles for playability:
- Gentle slopes (15°–30°) → speed ramps
- Steep slopes (45°+) → trick/jump ramps
2. Physics Considerations
- Ensure your ramp has a smooth surface (no uneven polygons) to avoid jitter.
- If using MeshColliders, mark them as Convex for better performance.
- For endless runners or arcade-style games, ramps can be prefabbed and spawned procedurally.
Implementing Jump Mechanics
1. Basic Jump with Rigidbody
Use Rigidbody’s force system to make jumps responsive and physics-driven:
public class PlayerJump : MonoBehaviour {
    public float jumpForce = 7f;
    private Rigidbody rb;
    private bool isGrounded;

    void Start() {
        rb = GetComponent<Rigidbody>();
    }

    void Update() {
        if (Input.GetKeyDown(KeyCode.Space) && isGrounded) {
            rb.AddForce(Vector3.up * jumpForce, ForceMode.Impulse);
            isGrounded = false;
        }
    }

    void OnCollisionEnter(Collision collision) {
        if (collision.gameObject.CompareTag("Ground")) {
            isGrounded = true;
        }
    }
}
ForceMode.Impulseensures an instant, snappy jump.- Use collision checks to prevent double jumps (unless intentionally designed).
2. Variable Jump Height
Allow higher jumps if the player holds the button longer:
if (Input.GetKey(KeyCode.Space) && rb.velocity.y > 0) {
    rb.AddForce(Vector3.up * extraForce, ForceMode.Force);
}
This gives players more control and creates a skill-based mechanic.
3. Integrating with Ramps
- When a player moves up a ramp, let natural physics carry them upward.
- Optionally, add a boost force when leaving a steep ramp for dramatic jumps:
if (onRampExit) {
    rb.AddForce(Vector3.up * rampBoost, ForceMode.Impulse);
}
Enhancing Gameplay with Ramps and Jumps
- Momentum-Based Jumps
- The faster the player runs, the further the jump.
- Multiply jump force by
rb.velocity.magnitude.
- Jump Animations
- Blend between running → jumping → landing animations using Animator.
- Camera Dynamics
- Add slight camera shake or zoom-out for dramatic jumps.
- Power-Ups and Boosts
- Speed boosts before ramps → longer airtime.
- Double-jump power-ups for extra height.
Optimization Tips
- Use BoxColliders instead of MeshColliders where possible.
- Clamp jump velocity to prevent unrealistic physics.
- Apply Physics Materials for ramp friction control (low friction = smoother sliding).
- Profile with Unity Profiler to check Rigidbody and physics costs.
Best Practices
- Keep controls responsive – prioritize player feel over realistic physics.
- Design ramps with intent – not every slope should launch the player.
- Balance gameplay – long jumps should challenge timing without frustrating players.
- Playtest extensively – ensure jumps feel natural across devices (keyboard, gamepad, mobile).
Conclusion
Ramps and jump mechanics are essential for making physics-based Unity games engaging and dynamic. By combining well-designed ramps, Rigidbody-based jumps, and gameplay enhancements like animations and boosts, you can create a fun and fluid experience.
Whether you’re building a platformer, endless runner, or stunt racer, optimizing these mechanics ensures that players enjoy both the realism of physics and the responsiveness of arcade-style controls.